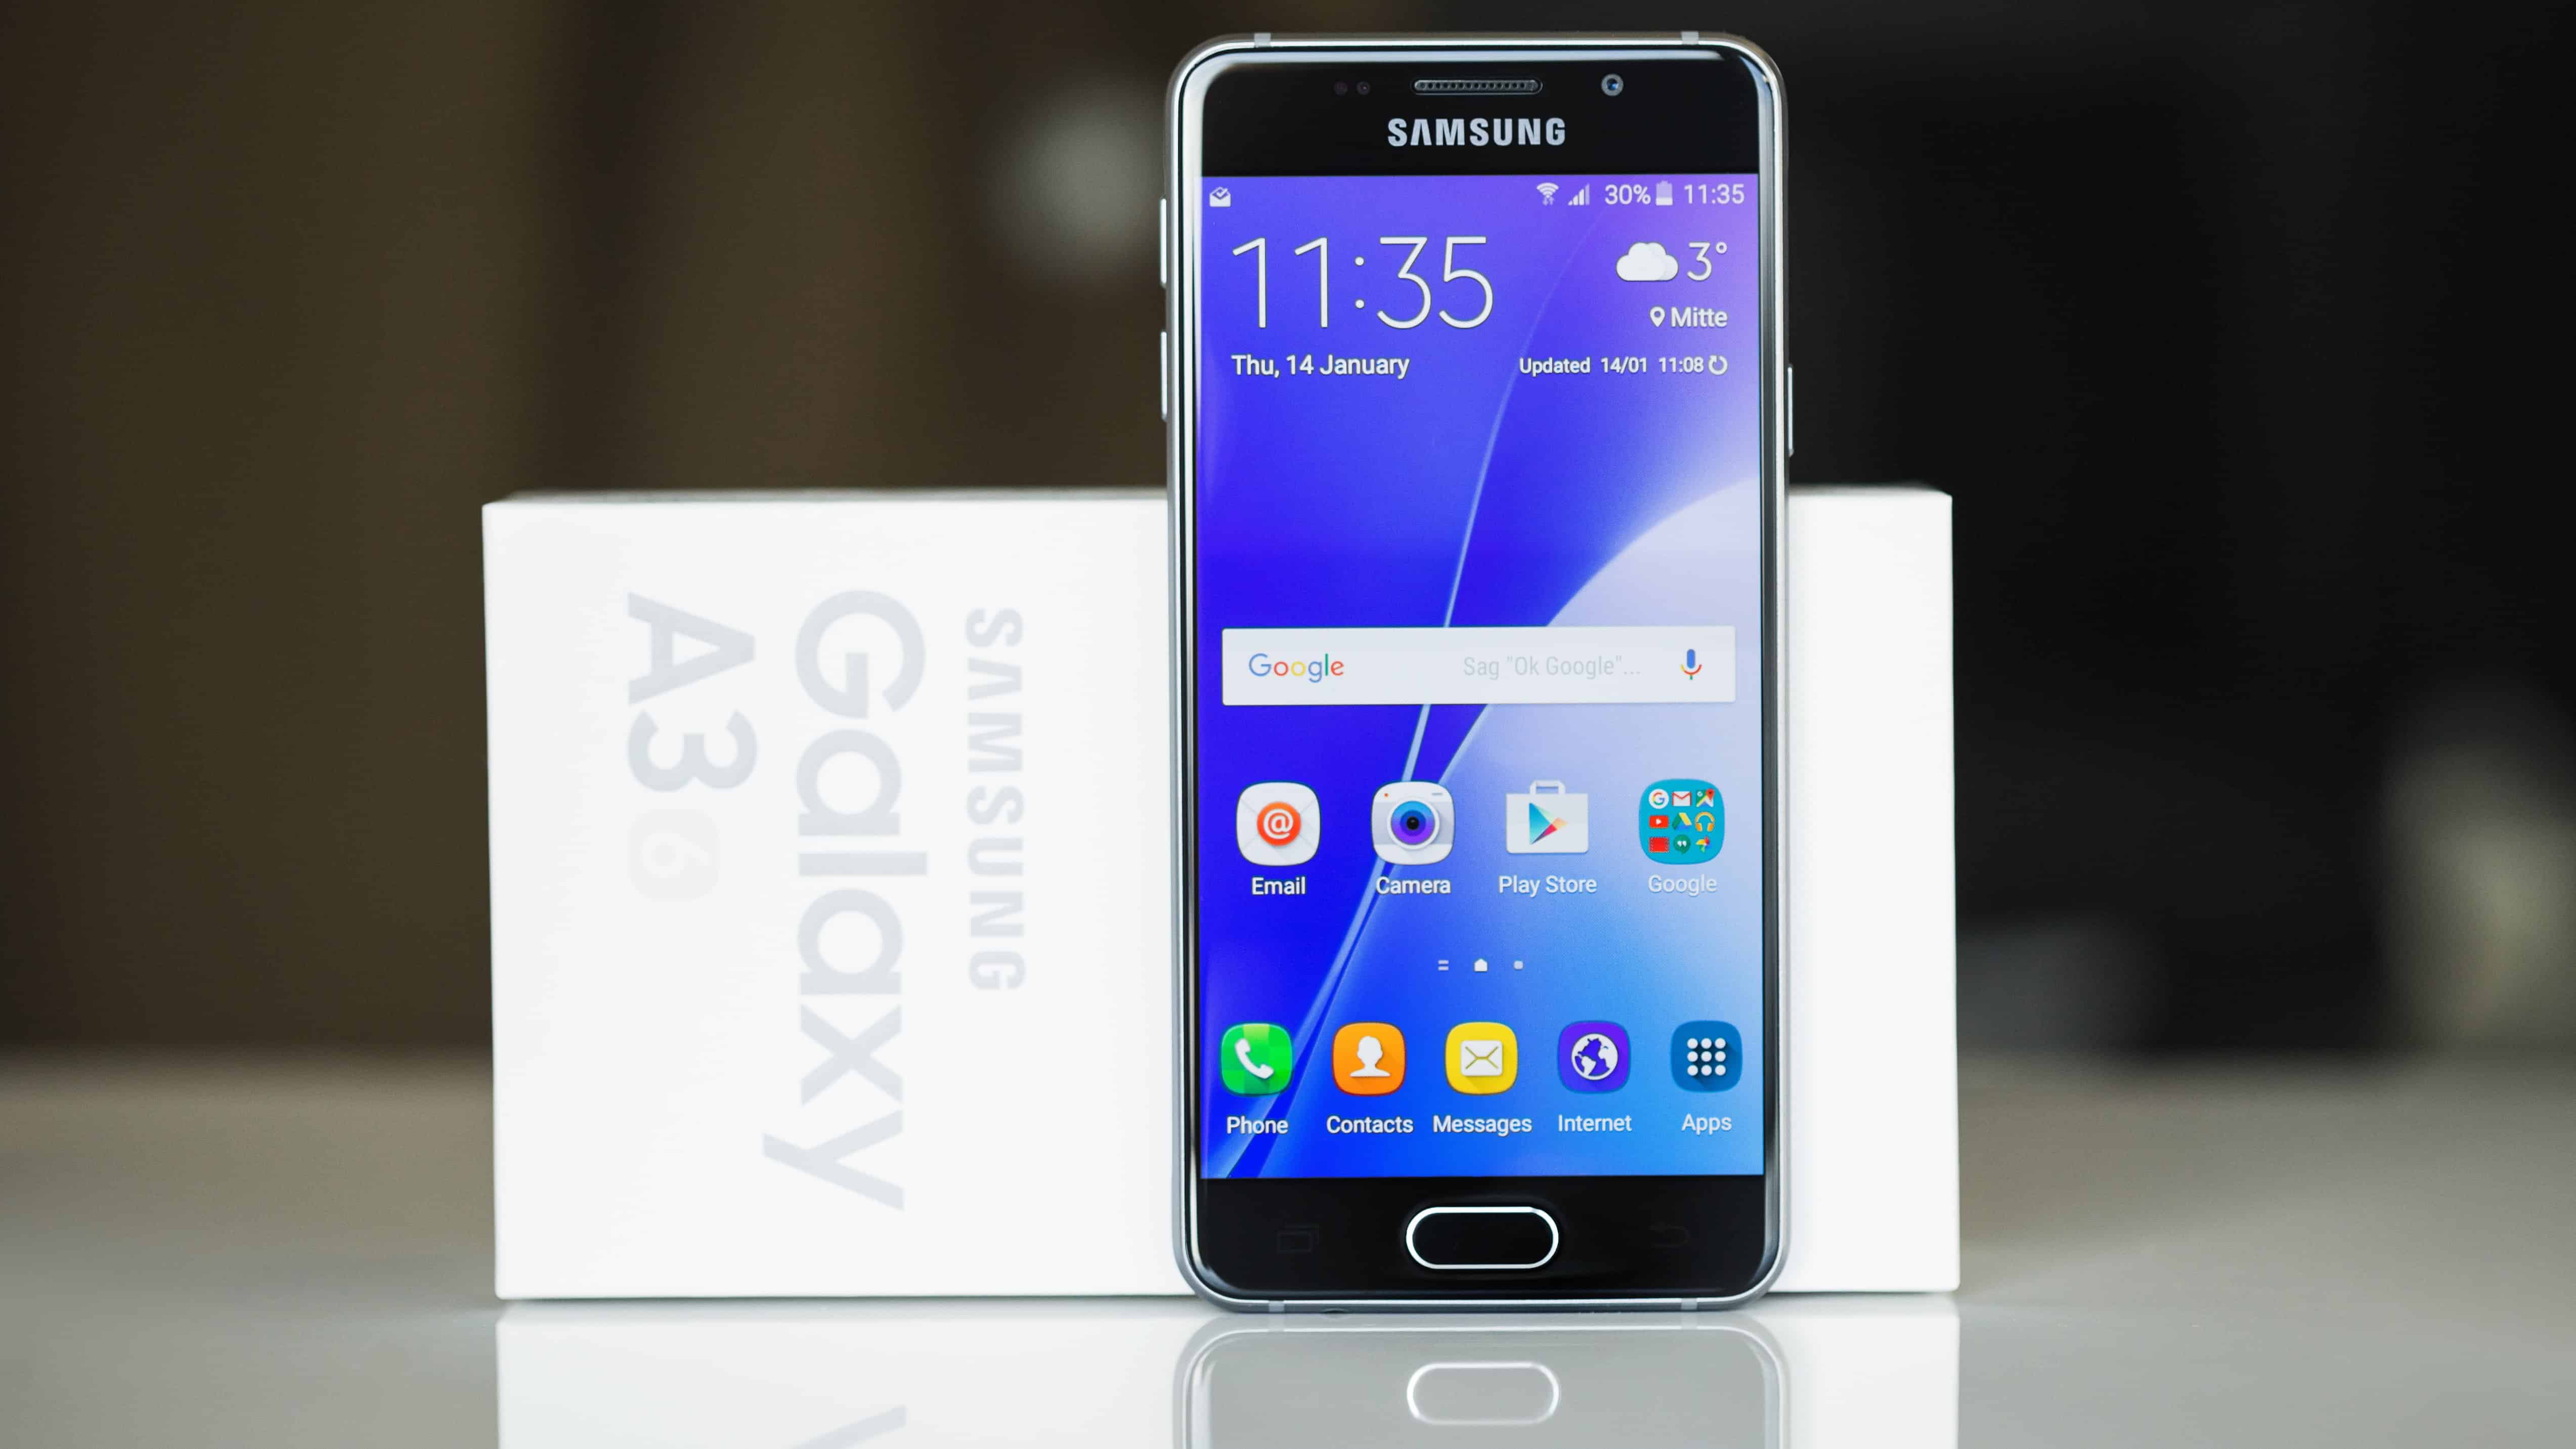
Samsung Galaxy A3 2016 edition has received the first Android 7.0 Nougat update in some region. Currently available for Galaxy A3 SM-A310F variant in
Samsung Galaxy A3 2016 edition has received the first Android 7.0 Nougat update in some region. Currently available for Galaxy A3 SM-A310F variant in Germany, the update brings new TouchWiz interface, various new features, performance improvements and latest security patches (May 1, 2017) to the device. Since the OTA update is rolling out in phases, it will take a few days to get the update on all devices.
Android 7.0 Nougat OTA updates for Galaxy A3 (2016) SM-A310F variant weighs around 950 MB in size and offers new UX and various performance modes. The Nougat update for other region Galaxy A3 (SM-A310F/M/Y/N0) is imminent. If you have not received the OTA notification on your device yet, check it by going to Settings > About phone > System updates > Check For Update.
You can also download and install the full Nougat firmware manually on your Galaxy A3 (2016) using Odin tool. Unfortunately, the full firmware files are not available just yet. Once it is available, you can use the below guide to install the update manually on your device.
Downloads:
– You can use Samfirm tool to download official firmware to your PC or use below links
– Android 7.0 Nougat official firmware file for Galaxy A3 (2016) SM-A310F [HERE], SM-A310M [HERE], SM-A310Y [HERE] and SM-A310N0 [HERE]
– Latest version of Odin tool [HERE]
Update Galaxy A3 (2016) to Android 7.0 Nougat Manually
1. Unzip the downloaded firmware file and Odin zip file on your Windows PC.
2. Run Odin.exe file
3. Enable “USB Debugging” and “OEM Unlock” on your phone.
4. Now, boot your phone into ‘Download Mode’ (Press and hold Home + Power + Volume Down buttons together)
5. Now, connect your phone to your PC. You will get a blue sign in Odin. If not, install proper driver on your PC and start.
6. In Odin, make sure Re-partition is NOT ticked (tick only the Auto Reboot and F. Reset Time check boxes, see below screenshot for example)
7. Select AP in Odin and choose the firmware file (with .tar extension) you have unzipped.
8. If everything OK, click the Start button. Once the ‘Pass’ message is appeared in Odin, reboot your phone.
Troubleshooting: In case you get a Fail message, repeat all the procedure carefully and ensure that you have downloaded correct firmware. Any question? Leave it in the comment section below.


COMMENTS